Reflection photography is a captivating technique that uses mirrored surfaces like water, glass, or shiny objects to create visually stunning compositions. Reflections add symmetry, depth, and a unique artistic perspective to your images, making them stand out in any portfolio.
Mastering this art requires more than just finding a reflective surface—it demands careful planning, an understanding of light, and a creative mindset. In this guide, we’ll explore the tools, techniques, and tips needed to take your reflection photography to the next level.
Why Reflection Photography is Unique
Reflections can completely transform an ordinary scene into an extraordinary visual story. Here’s why this style is so powerful:
- Symmetry and Balance
Reflections naturally create symmetrical compositions, which are pleasing to the eye. The mirrored elements provide a sense of balance and harmony, making the image feel complete. - Creative Perspectives
By capturing reflections, you’re essentially presenting two views in one photo: the subject and its mirror image. This duality invites viewers to interpret the scene in unique ways. - Dramatic Depth
Reflections add layers to your composition, giving the illusion of depth. This is particularly effective in landscapes and architectural photography. - Versatility
From serene lakes to urban skyscrapers, reflections can be found almost anywhere. This versatility allows photographers to experiment with various environments and styles.
Tools and Equipment for Reflection Photography
Although reflections can be captured with minimal equipment, having the right tools can significantly improve your results:
1. Camera
- A DSLR or mirrorless camera with manual settings is ideal for precise adjustments.
- Smartphones with advanced camera features can also deliver great results for casual shots.
2. Lens
- Wide-angle lenses are perfect for landscapes, capturing expansive reflections on water.
- Telephoto lenses allow you to isolate details in reflections, such as distant mountains or architectural elements.
- Macro lenses work well for small reflective surfaces, like dew drops or shiny objects.
3. Tripod
- Essential for stability, especially in low-light conditions or when using slow shutter speeds.
4. Polarizing Filter
- Reduces glare from reflective surfaces and enhances colors in the sky and water.
- It’s especially useful when shooting in bright sunlight.
5. Neutral Density (ND) Filter
- Helps control exposure by reducing the amount of light entering the lens. ND filters are particularly handy for creating long-exposure shots of reflections in water.
Finding the Perfect Location
The right setting is key to successful reflection photography. Here are some ideas for finding reflective surfaces:
1. Natural Reflective Surfaces
- Water Bodies: Lakes, ponds, rivers, and even puddles provide excellent reflective surfaces. Look for calm water for clearer reflections.
- Wet Sand: Beaches at low tide can create mirror-like effects with wet sand.
- Ice and Snow: Frozen lakes or icy surfaces offer unique reflective opportunities during winter.
2. Urban Reflective Surfaces
- Glass Buildings: Modern architecture often features reflective glass surfaces that can create striking compositions.
- Metal Surfaces: Shiny sculptures, cars, or metallic structures can provide interesting reflections.
- Wet Pavement: After rain, streets and sidewalks can act as mirrors, especially when capturing city lights.
3. Indoor Reflections
- Mirrors, polished floors, and glossy furniture can create creative opportunities for reflection photography indoors.
Techniques for Stunning Reflection Photography
1. Compose for Symmetry
Symmetry is one of the hallmarks of reflection photography. Align your subject and its reflection carefully to create a harmonious composition. For example:
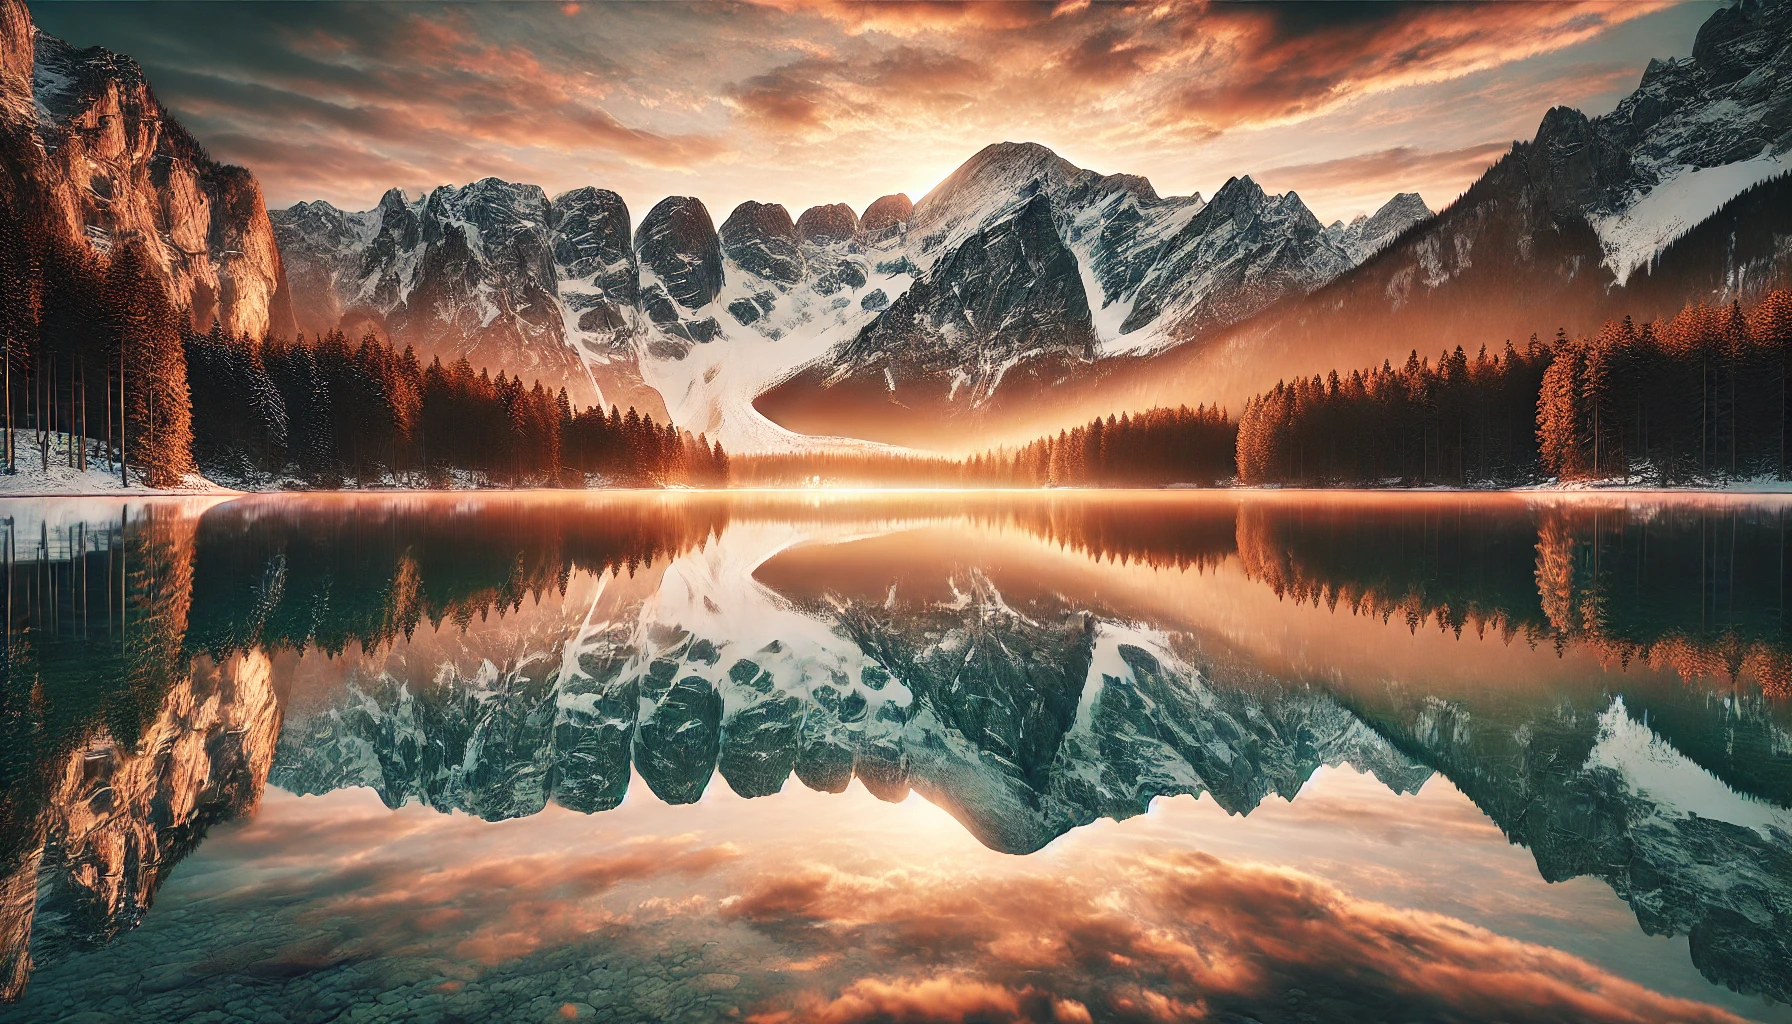
- A mountain perfectly mirrored in a lake.
- A tree and its reflection centered in the frame.
2. Experiment with Angles
Changing your shooting angle can dramatically alter the appearance of the reflection:
- Low Angles: Get as close to the reflective surface as possible to emphasize the reflection.
- Tilted Angles: Introduce a sense of abstraction by tilting the camera, merging reality and reflection creatively.
3. Incorporate Foreground Elements
Adding foreground objects, such as rocks, plants, or people, creates depth and enhances the storytelling aspect of the photo.
4. Play with Lighting
Lighting is critical in reflection photography:
- Golden Hour: The warm tones of sunrise or sunset can add drama and richness to reflections.
- Blue Hour: Just after sunset, the soft, cool tones create a tranquil mood.
- Nighttime: Reflections of city lights in water or glass add an urban, modern feel.
5. Wait for Calm Conditions
Reflections are clearest when the surface is still. For water reflections, shoot on calm days with little wind.
Advanced Techniques
1. Long-Exposure Reflections
- Use slow shutter speeds to smooth out ripples in water or create abstract effects with moving reflections.
- Example: A long-exposure shot of a river with blurred water reflecting autumn foliage.
2. Upside-Down Reflections
- Flip the photo during post-processing so that the reflection becomes the main subject. This creates a surreal, dreamlike effect.
3. Light Trails and Reflections
- Combine reflection photography with light trails by capturing car lights or city lights reflected in water or glass.
4. Abstract Reflections
- Focus on distorted reflections, such as those found in rippled water or curved glass, to create intriguing abstract compositions.
Camera Settings for Reflection Photography
Aperture
- Smaller Aperture (f/8–f/16): Ensures a wide depth of field for sharp reflections and backgrounds.
- Larger Aperture (f/2.8–f/4): Isolates the reflection by blurring other elements.
Shutter Speed
- Fast Shutter Speeds: Freeze reflections in moving water or handheld shots.
- Slow Shutter Speeds: Smooth water and enhance reflective clarity.
ISO
- Keep ISO low (e.g., 100 or 200) to minimize noise, especially in low-light conditions.
Focus Mode
- Use manual focus to ensure the reflection is sharp. Adjust focus depending on whether you want to emphasize the reflection, the subject, or both.
Post-Processing Tips
Editing plays a crucial role in refining reflection photos:
1. Enhance Contrast
- Boost contrast to make the reflection stand out against the background.
2. Adjust Colors
- Enhance the vibrance and saturation of the reflection to match the rest of the image.
3. Crop for Symmetry
- Ensure the reflection and subject align perfectly by cropping and straightening the image.
4. Remove Distractions
- Use cloning or healing tools to remove debris, glare, or unwanted elements.
Common Challenges and Solutions
1. Blurry Reflections
- Solution: Use a tripod and precise manual focus.
2. Overexposed Highlights
- Solution: Use a graduated ND filter or expose for the highlights and adjust shadows in post-processing.
3. Poor Lighting Conditions
- Solution: Shoot during golden hour or blue hour for optimal natural light.
Inspiring Examples of Reflection Photography
- A city skyline reflected on a calm river during sunset.
- Raindrops on a car window capturing the blurred city lights behind them.
- Mountains mirrored perfectly in a crystal-clear alpine lake.
- Wet pavement reflecting neon lights from urban streets at night.
- A silhouette of a hiker standing beside a reflective water pool in the desert.
Final Thoughts
Reflection photography is a rewarding and versatile art form that pushes the boundaries of creativity. By mastering the techniques and tools discussed in this guide, you can transform everyday scenes into captivating compositions that leave a lasting impression.
So, whether you’re photographing serene lakes, bustling cityscapes, or abstract details, reflections offer endless possibilities to experiment and innovate. Grab your camera, find a reflective surface, and start exploring the mesmerizing world of reflection photography today!