Night portrait photography is a captivating genre that blends the challenge of low-light shooting with the artistry of portraiture. Shooting portraits at night opens up a world of creative possibilities, from moody atmospheres to vibrant cityscapes and glowing neon lights.
In this guide, we’ll explore the techniques, equipment, and tips needed to master night portrait photography and create stunning images that stand out.
Why Night Portrait Photography?
- Unique Atmosphere: Night photography creates dramatic, moody, and artistic settings that can’t be replicated during the day.
- Creative Lighting Opportunities: Streetlights, neon signs, and car headlights offer dynamic and colorful lighting options.
- Emphasis on Subject: The low-light environment draws attention to the subject, creating striking compositions.
- Diverse Applications: Perfect for urban portraits, themed shoots, or artistic experiments.
Essential Equipment for Night Portrait Photography
1. Camera
- DSLR or Mirrorless Cameras: Offer excellent low-light performance, manual controls, and higher ISO capabilities.
- Smartphones: Modern smartphones with night mode and advanced sensors can also deliver impressive results.
2. Lenses
- Prime Lenses (e.g., 50mm, 85mm): Wide apertures (f/1.2–f/2.8) allow more light and create beautiful bokeh.
- Wide-Angle Lenses: Capture your subject along with the surrounding environment.
3. Tripod
- Essential for long exposures or when using artificial light setups.
4. Lighting Equipment
- Speedlights: Compact and portable, ideal for adding a burst of light.
- LED Panels: Provide continuous, adjustable light for creative effects.
- Reflectors: Bounce available light onto the subject for even illumination.
5. Remote Shutter Release
- Prevents camera shake for long exposure shots.
Camera Settings for Night Portrait Photography
1. Aperture
- Use a wide aperture (e.g., f/1.4–f/2.8) to maximize light intake and create a shallow depth of field.
2. Shutter Speed
- Adjust based on your light source:
- Fast Shutter Speeds (e.g., 1/100s): Freeze motion and maintain sharpness.
- Slow Shutter Speeds (e.g., 1–10 seconds): Incorporate ambient light or light trails creatively.
3. ISO
- Start with ISO 800–3200 and adjust as needed. Modern cameras handle high ISO with minimal noise.
4. White Balance
- Use custom white balance settings to complement the lighting environment, such as tungsten or fluorescent light.
5. Focus Mode
- Use manual focus or single-point autofocus to ensure the subject’s eyes are sharp.
Techniques for Stunning Night Portraits
1. Embrace Ambient Light
- Use streetlights, neon signs, or light from nearby windows as your primary light source.
2. Use Backlighting for Drama
- Position a light source behind the subject to create silhouettes or glowing edges.
3. Incorporate Bokeh
- Use a wide aperture and focus on the subject while background lights blur into beautiful, soft circles.
4. Light Painting
- Use a flashlight or LED to “paint” light onto your subject during a long exposure.
5. Experiment with Color
- Neon lights, gels, and colored LEDs can add vibrancy and a cinematic feel to your portraits.
Lighting Ideas for Night Portrait Photography
1. Natural Light Sources
- Use streetlights, firelight, or moonlight to create moody and natural effects.
2. Portable LED Lights
- Compact and versatile, they can be handheld or mounted for directional lighting.
3. Off-Camera Flash
- Use flash units to control light placement and intensity for dynamic effects.
4. Gels and Filters
- Add colored gels to your lights for creative and artistic effects.
5. Reflectors
- Bounce existing light onto the subject to fill shadows and enhance details.
Composition Tips for Night Portraits
1. Rule of Thirds
- Position the subject along the gridlines for a balanced composition.
2. Use Negative Space
- Emphasize the subject by surrounding them with empty or dark areas.
3. Frame the Subject
- Use natural or artificial elements like doorways, arches, or car windows to frame the subject.
4. Create Symmetry
- Incorporate reflections in puddles or glass for a symmetrical composition.
5. Incorporate Leading Lines
- Use roads, light trails, or architectural lines to guide the viewer’s eye to the subject.
Creative Ideas for Night Portrait Photography
1. Silhouettes Against Neon Signs
- Position your subject in front of colorful neon lights for striking silhouettes.
2. Double Exposure
- Blend a night cityscape with your subject for a surreal, artistic effect.
3. Rainy Nights
- Use puddles and wet streets to create reflections and dramatic lighting.
4. Light Trails
- Combine long exposures with moving car lights or sparklers for creative effects.
5. Cinematic Style
- Use color grading during post-processing to give your portraits a film-like aesthetic.
Post-Processing Night Portraits
1. Adjust Exposure and Shadows
- Balance the highlights and shadows for a dramatic or natural look.
2. Enhance Colors
- Boost the vibrancy of neon lights or skin tones for more impactful results.
3. Sharpen the Subject
- Use selective sharpening to emphasize details in the subject’s face or clothing.
4. Reduce Noise
- Apply noise reduction tools to clean up grain in dark areas without losing details.
5. Experiment with Black and White
- Convert your image to black and white for a timeless, moody effect.
Common Challenges and How to Overcome Them
1. Blurry Shots
- Solution: Use a tripod or increase the shutter speed to avoid motion blur.
2. Noise in Low Light
- Solution: Shoot at a lower ISO when possible and reduce noise in post-processing.
3. Overexposed Background Lights
- Solution: Use exposure bracketing or adjust the exposure compensation.
4. Focus Issues
- Solution: Use manual focus or focus on a well-lit area to lock in sharpness.
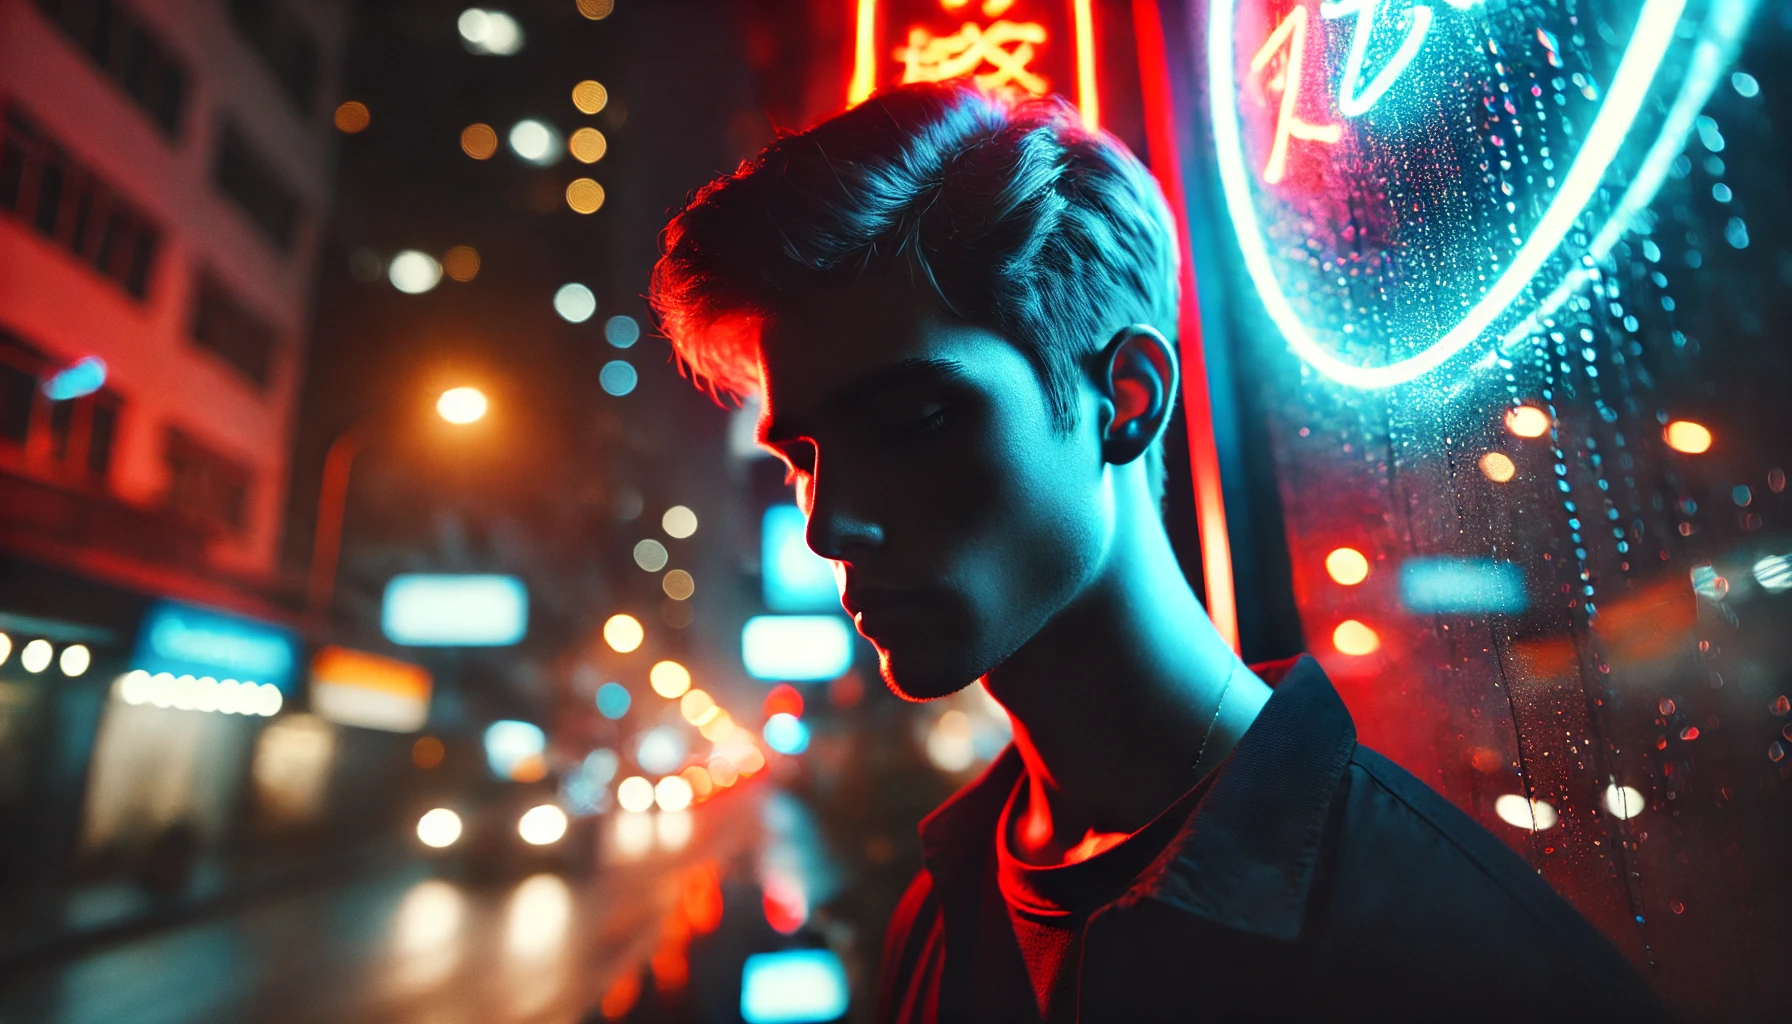
Inspiring Examples of Night Portrait Photography
- A person standing under a glowing streetlamp with soft shadows and dramatic lighting.
- A close-up portrait illuminated by the colorful glow of a neon sign.
- A silhouette framed by light trails from passing cars.
- A couple holding sparklers, with their faces softly lit and surrounded by bokeh.
- A cinematic portrait featuring cool tones and moody lighting in an urban alley.
Final Thoughts
Night portrait photography offers endless creative possibilities, combining the challenge of low-light conditions with the artistry of portraiture. By mastering lighting, composition, and camera settings, you can create stunning images that capture the drama and beauty of the night.
Whether you’re shooting in bustling cities, quiet suburbs, or rural landscapes, night portraits allow you to experiment and push the boundaries of your creativity. So grab your camera, venture into the night, and start capturing unforgettable portraits after dark!